
Wall Out - - Beam In
|
|
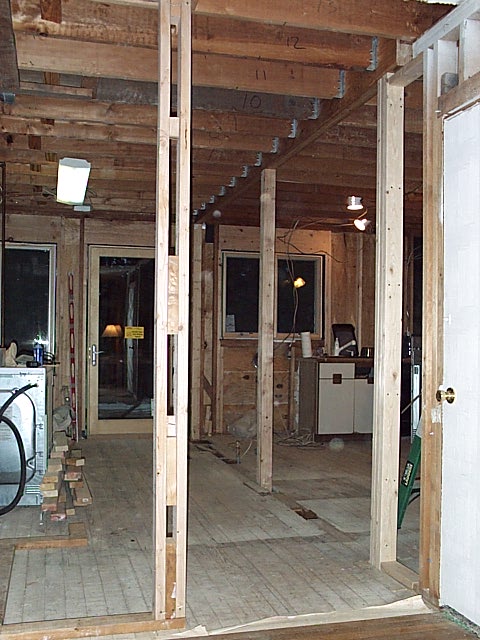
In this picture you can see the darker section on the floor where the old wall between the kitchen and laundry area used to be. The beam will go in the ceiling between the two temporary walls you see in the photo. |
 |
I have my back to the new door onto the deck and am looking down the length of the family room wall towards my office. In the top of the picture you can see the new beam. The post in the middle of the picture remains. Eventually there will be a pedestal on the bottom and a decorative round column on the top half. |
 |
In this picture I am looking toward where I stood for the previous picture above. You can see the new beam in the ceiling. The double stud in the middle of the picture is the corner of the new powder room. |
 |
In this picture I am standing at the entrance to the kitchen from the front foyer and looking to the back corner of the house. Great view of the beam that was lifted into place with the help of Bob Black, Simon Hakim, Mike Bognanno, and Mark Gorman. The beam is engineered, laminated veneer lumber. For strength and weight this is incredible stuff. |
 |
I am positioned as though I were standing at the new location for the fridge and looking toward the back of the house. The sink on the right will eventually be moved a few feet toward the back of the house. |
 |
I numbered the joists at the time that I constructed the temporary walls to hold up the house until the beam was assembled. The numbers were written on the joists so that, if necessary, I could make notes on which joists were not level with the others or place where the floor wasn't level. Consequently the adjustments along the length of the beam only had to be made at one end and were pretty simple. |