Anchors and Anchoring
Anchoring and anchors is an endlessly popular subject on the various cruising forums. On board Andante I carry a Danforth and a Bruce. With a Danforth and CQR on my previous boat there was never a problem getting and staying attached to the bottom. On the way up from Florida the primary anchor was the Bruce and it worked nicely. A few changes, documented below were necessary on Andante.
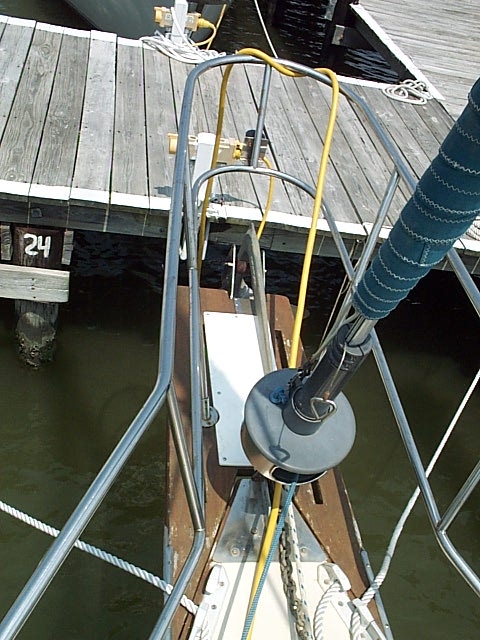
Sporting the new finish on her bow sprit. The white fleck on the leading edge means she's been christened by a bird already.
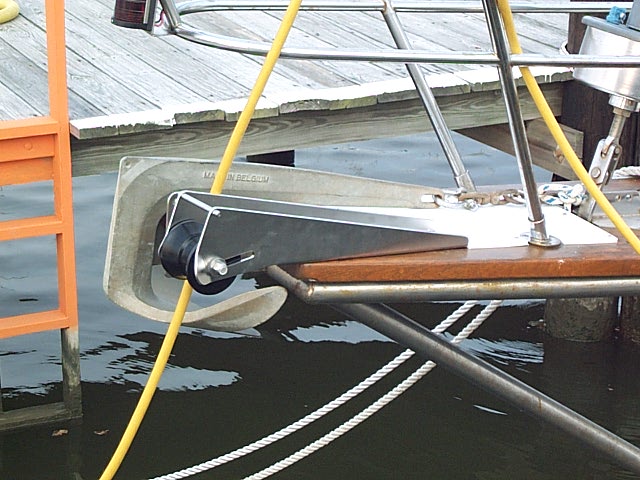
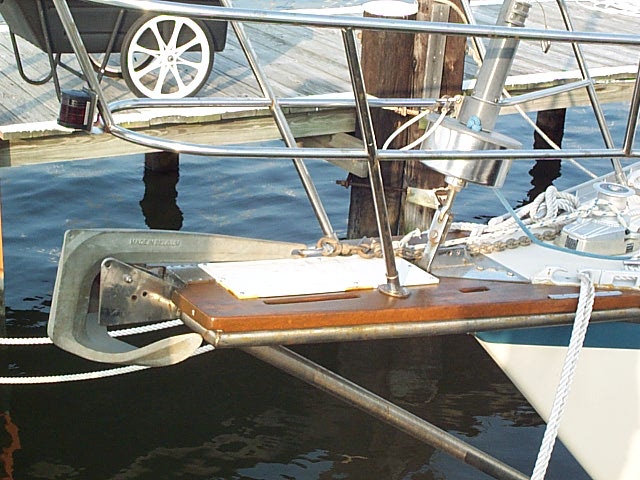
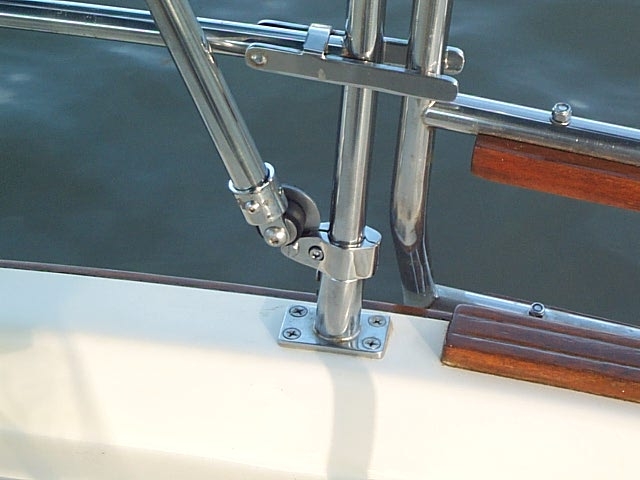
Wearing a new bit of jewelry on the bow. A second anchor roller for those days when the fronts are blowing through the Bahamas next year.
A cosmetic change,or
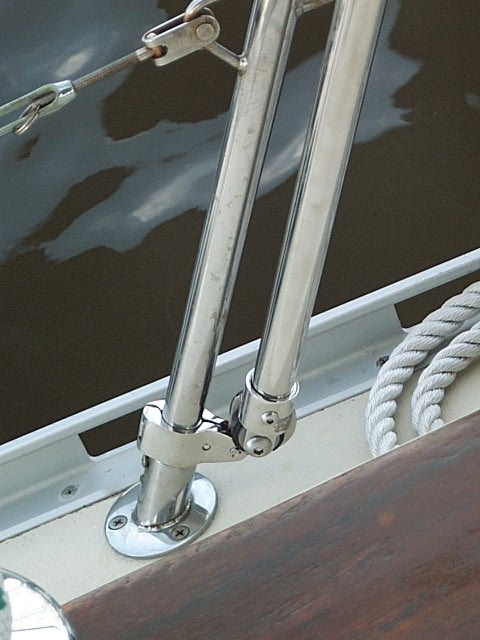
Jewelry for Andante
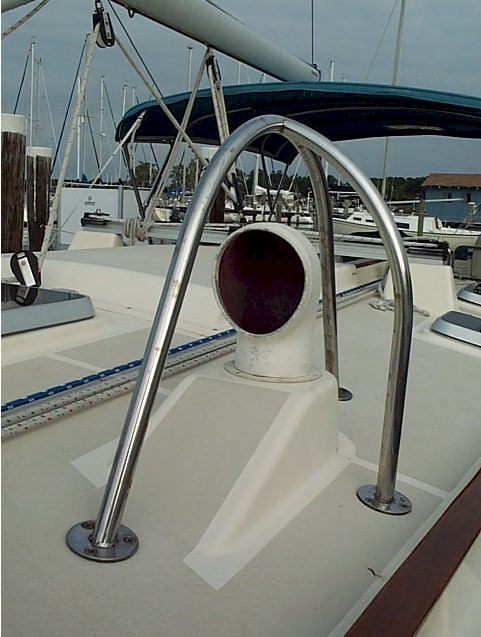
The old gray dorade vent makes my baby look rather drab and tired.
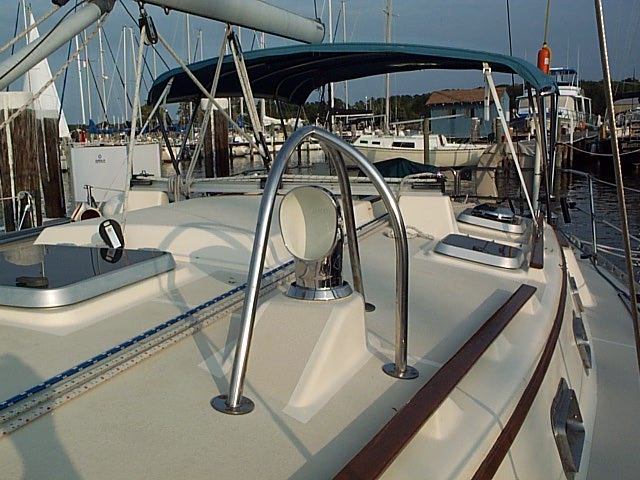
Here she is showing off her new jewelry on deck.
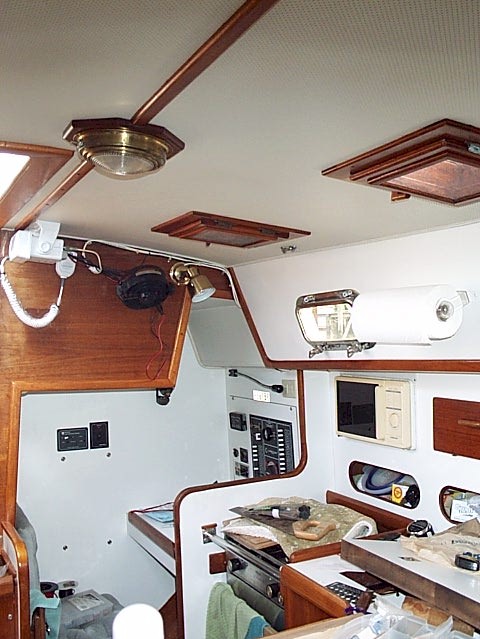
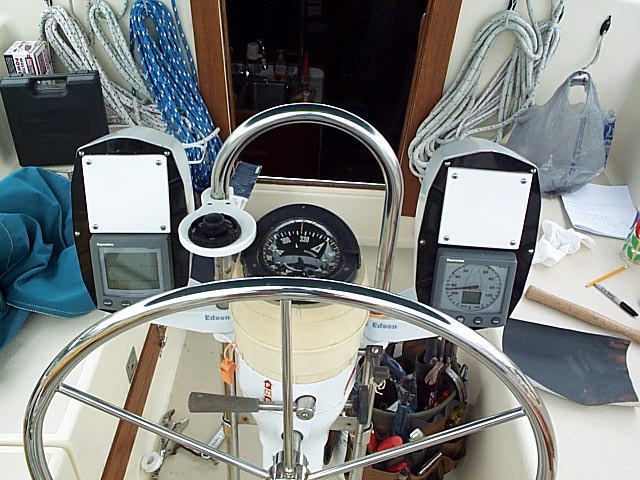
A Change in Navigational Data Display
On the way north in 2010 the speed display became so dim that it had to go. Also, the Loran was obsolete so it had to go. The speed and depth displays were replaced with a newer ST60 head. The before and after views of the helm are at the right.
The white squares are StarBoard to seal the holes from whence the old instruments were removed.
Now I am thinking about how to create a removable mount for my Garmin GPS that will allow the wires to run through the stainless binnacle guard. The problem is the wires already running through it, some of which are there for reasons that escape me.
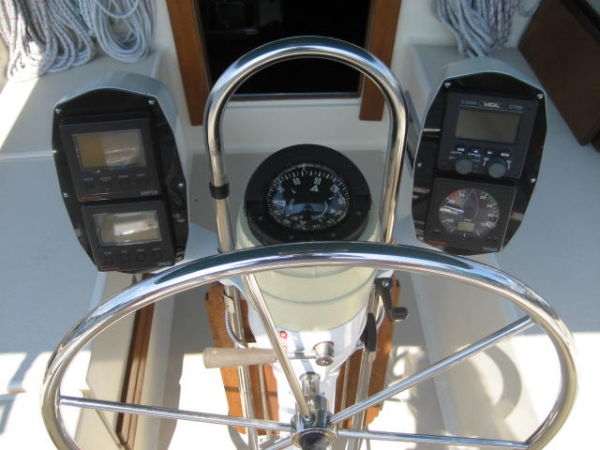
Before
After
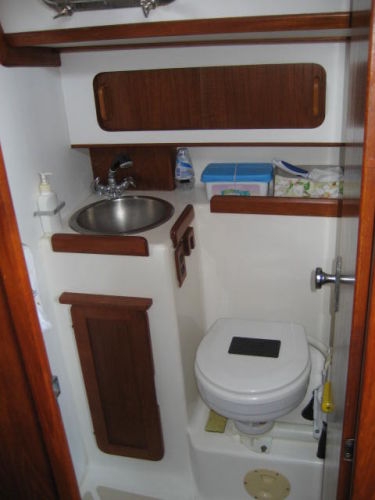
Toilets, Plumbing Part I
At home you never have to give much thought to what happens when you flush the toilet. That is one of the benefits of economic development. The same is not true on a sailboat. One must always be thinking about effluent.
What Came Out
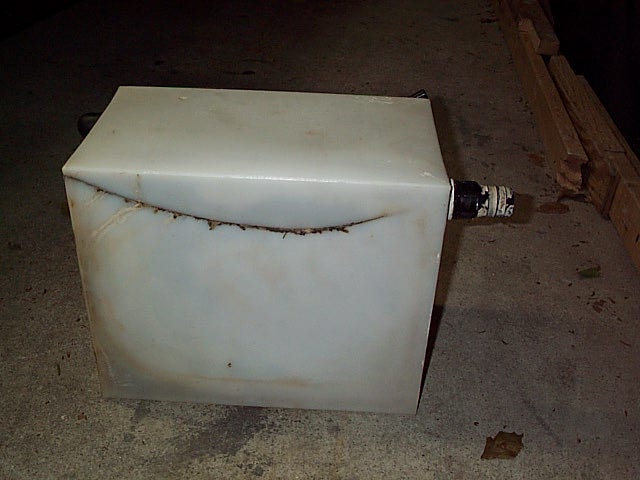
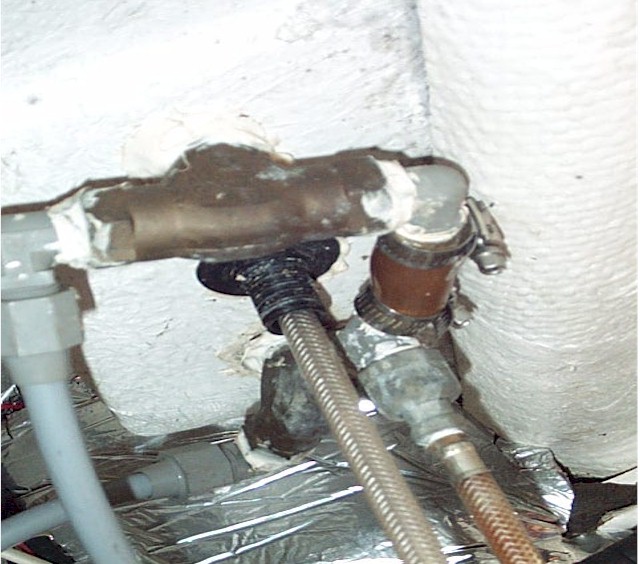
A working head is an absolute necessity. After all, I am a Buck, not a bear in the woods. In 2010 while preparing to head north from Tampa Bay -- St Pete disaster struck. The first time I used the aft head and pumped waste into the holding tank it leaked. The photo at the left makes it clear why there was a problem with holding water, or whatever; the tank was split end to endon the bottom. This is an instance in which out of sight did not mean out of mind.
Then when I switched to overboard the plumbing stopped up completely. Uh oh. Down to one head on board for a the 1100 mile trip to my home waters. Once back in Maryland disassembly of the toilet, a snake and a big mess got things flowing taken of the stink.
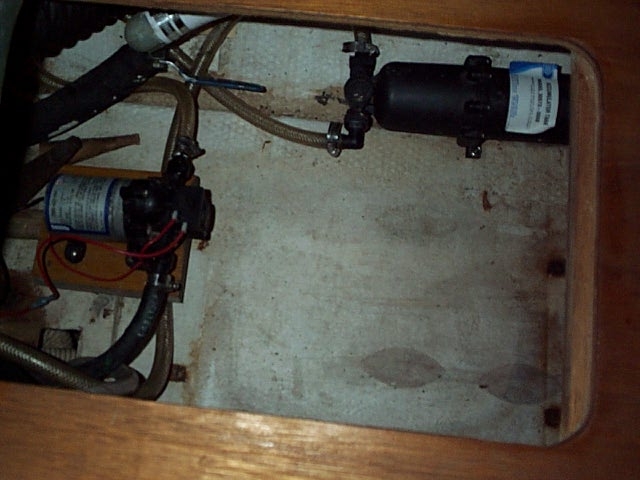
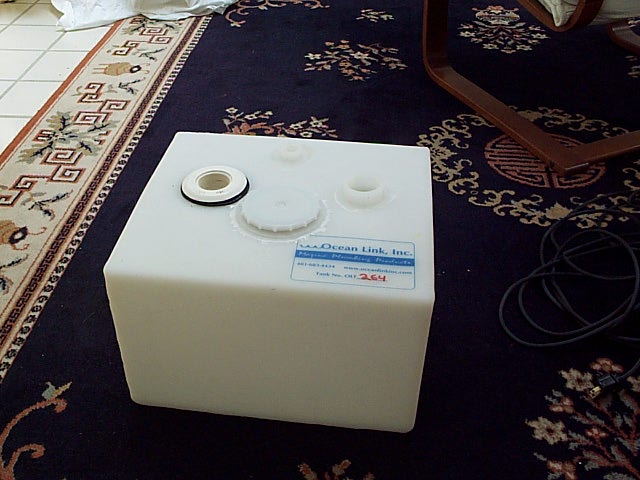
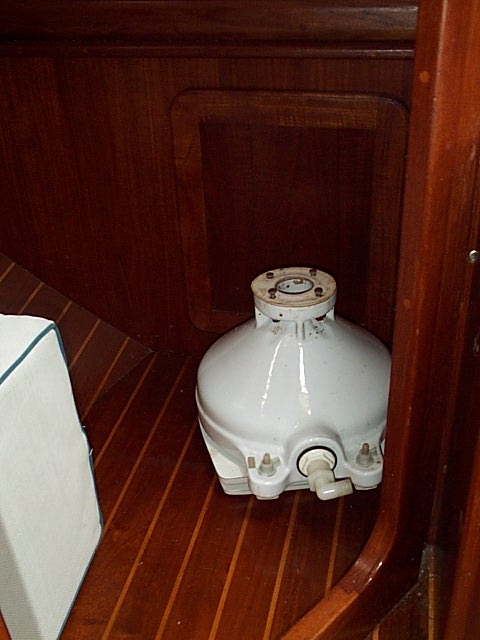
This year (2011) I took out the tank. Its space is shown in the lower left photo. It was a bear getting the old tank out. It involved disassembling the trim that supports the settee seat. Of course, the screws were in the blind side and it was glued. Just another of the little challenges of boat ownership. The new tank, properly made, is shown in the photo below. The new tank has its inlet and outlet on the top so there is no possibility of leak from a fitting. The pumpout fitting actually is like a straw.
What Went In
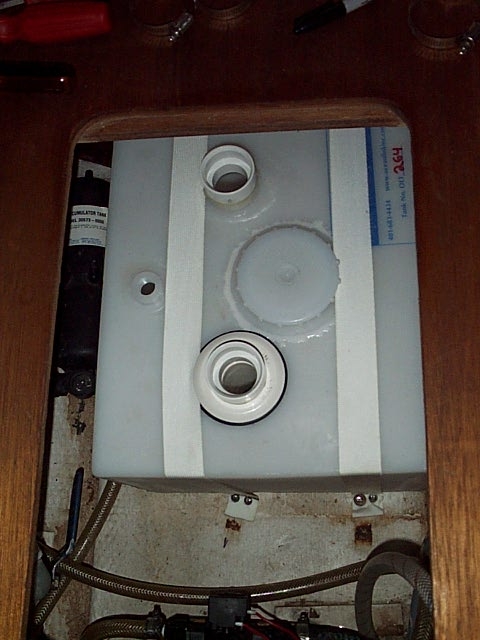
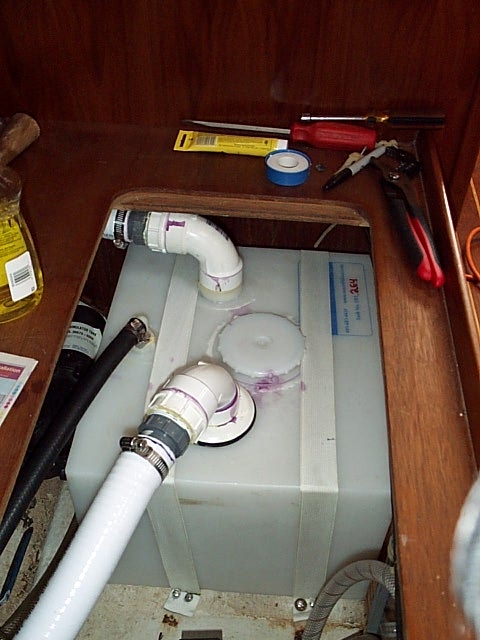
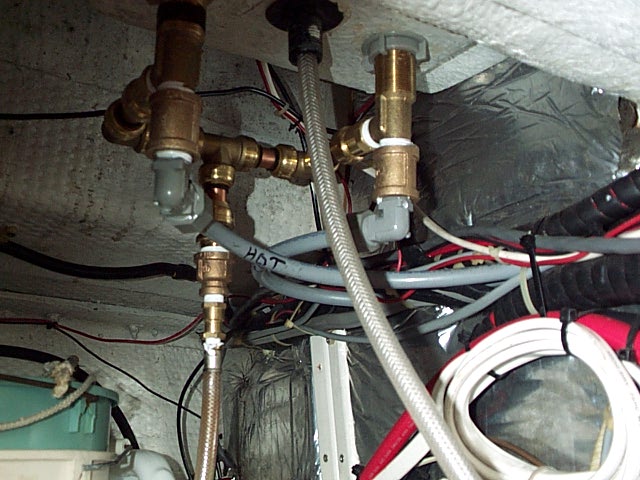
New Tank In Place
The above pair of photos finish the story about the aft holding tank. At the left it is snugly in its new home. At the right the plumbing, including the new white hoses, is attached.
Whew. Or should I say Phew. Two fully restored and fully functional marine heads. For the saga of the forward head and holding tank see below.
Toilets, Plumbing Part 2
When I bought Andante both the forward and aft heads were weeping, but from different places. Or maybe I was weeping in anticipation of fixing them.
There is a trait in the American character that says that if some is good, then a lot must be REALLY good. This goes for tightening things and the use of sealant.
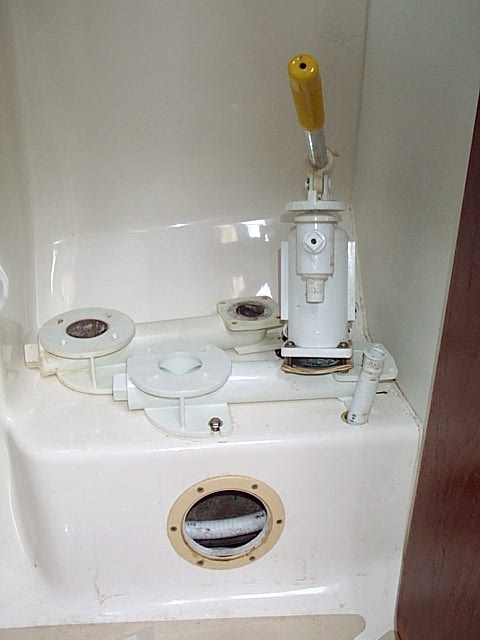
The forward head was weeping where the pump cylinder is attached to the base by four bolts. It is this joint that also houses the one way flapper valve. So, what I discovered was that three of the bolts were REALLY tight and the fourth, which was not as accessible, was not tight at all. To get at the fourth bolt required a screwdriver with a really long shaft. Whoever installed the toilet for the previous owner was probably too lazy to go fetch the long screw driver so that he could tighten the pump properly. Being somewhat more motivated, I can now say 'problem solved.'
The aft head was a sealant story. The photo at the right shows the head, complete with sponge to clean up the constant weep. In this case the source was clearly related to the drain plug at the left end of the base. The previous owner and/or his maintenance guy put gobs of sealant around the plug to stop the weeping.You can see the plug in the 'in progress' photo below. The copious amount of sealant did little to staunch the drip because the long cylinder, which forms the base, was cracked at the plug. Too much tightening and then gobs of sealant!
In the lower right you can make out the ravages of too much tightening of the bowl mount. The gasket was quite deformed so it too was replaced.
Problem solved!
The Bimini, or Protecting Oneself from the Sun
From bills and records I have determined that the bimini - dodger affair is in its ninth year, at least. Last season the stitiching was beginning to disintegrate so I brought it home to try to restitch it with my home sewing machine. This is one of those 'don't try this at home kids.' As long as no one looks too closely I can say that the stitching is done. I never was able to get the thread tension and the drag on the foot adjusted correctly so that the stitches pulled tight on both sides of the fabric. Oh well. The idea was just to get another season out of it.
The more interesting story is the color of the fabric.

Toilets, Plumbing Part 3
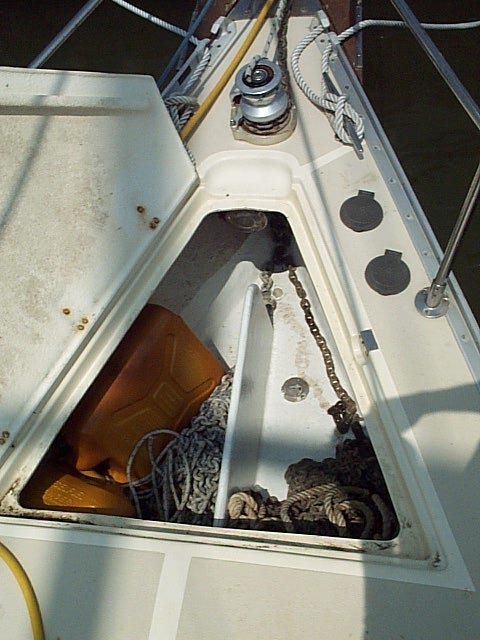
What we have here is the new floor to my anchor locker, which is also the top to the forward holding tank. This is a stinker of a story.
When I bought Andante I noticed that the vertical, longitudinal piece in the anchor locker was a wee bit wobbly. Last fall I put my fingers into the side of it, quite accidentally. Removing it and making a new one rose to the top of the to do list.
This spring I used my multi-tool to cut out the longitudinal piece. To my horror it was rotten throughout and had been screwed from below to the top of the holding tank. Moreover, the plywood of the holding tank top had not been epoxied before being installed, so it too was rotten. So, there I am looking into the holding tank through a long narrow slot and holding my nose against the stink.
The rebuild was done by a fiberglass guy in Rock Hall. I couldn't have done it as quickly and as neatly. If you're in Rock Hall and need fiberglass work look for Tony van der Waal.
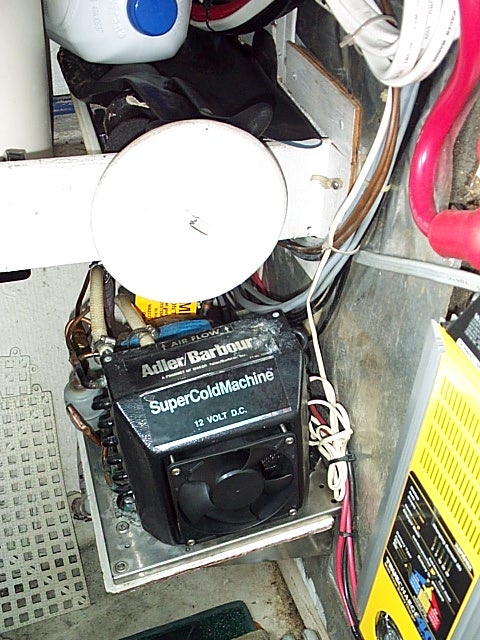
Refrigeration
Keeping Clean, Plumbing Part 4
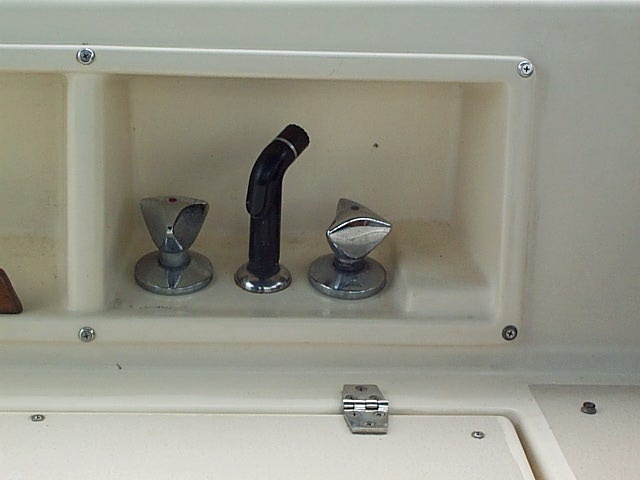
Even pirates bathed from time to time. On the left (before) and the right (after) you can see the pictures of my cockpit shower. The original below deck plumbing, shown in the row below the fixtures, probably leaked from the day the boat was built.On the left below is the original plumbing for the shower valves. Note the generous use of sealant and the mix of plastic hose, clamps and metal parts. A real Rube Goldberg job. Other Caliber owners have reported the same workmanship on an otherwise well constructed boat.
Before

After
Before
After
A Sweaty Job and the Threat of Fire
These two are related only by having overlapped in time.
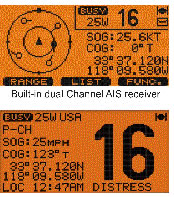
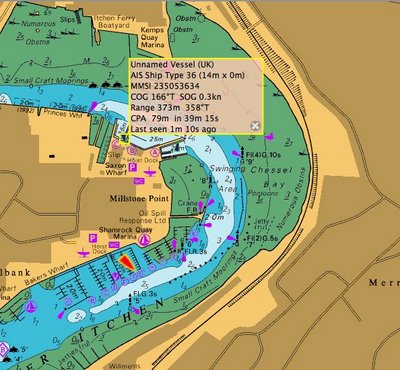
Communications and Safety in the Sea Lanes

Renewable Energy
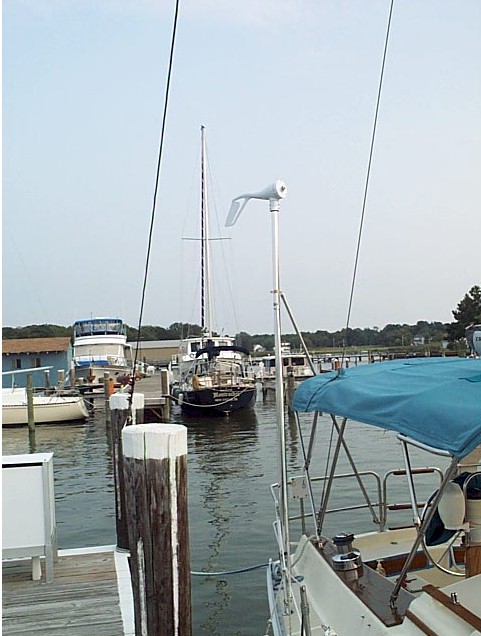
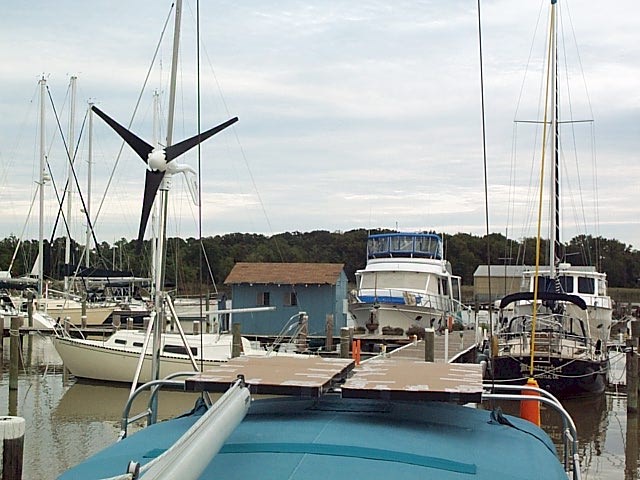
The Green Revolution Manifests Itself on Andante
One of the fittings at the base of the mast stay.
The other stay fitting.
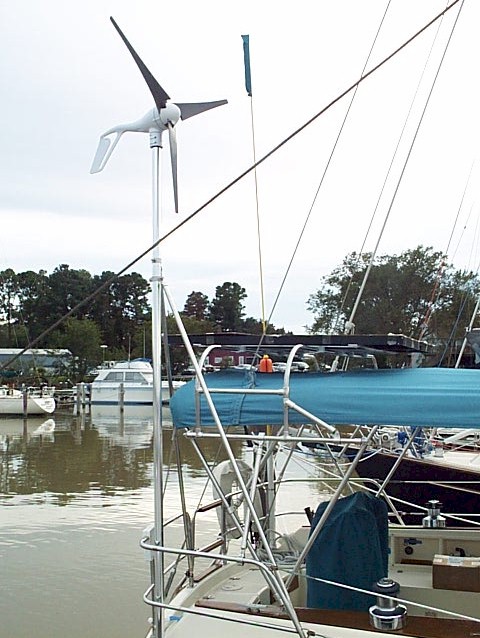
The mast for the wind turbine
The cable from the turbine to the control panel. Choice of wire gauge (#8) involved a lesson in wire size, resistance and power loss.
The turbine, sans blades, on the mast.
The photos below show the wind turbine and the solar panels. The wind turbine is an Air Breeze with its own internal controller. Based on an article in Practical Sailor I decided that this was the biggest bang for the buck. Considerations were cost, weight aloft, noise, and power output over a range of wind speeds. For this installation I bought the turbine, the mast, wire, fuses and miscellaneous connectors on an a la carte basis. This saved some money, but made the project go slowly.
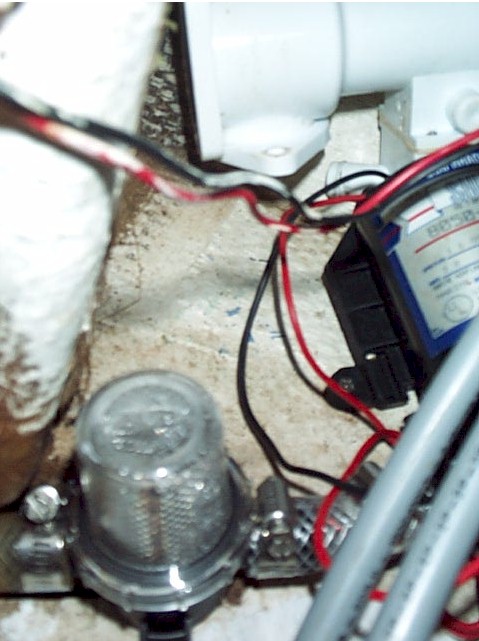
It is wired through the boat's electrical distribution panel only to the house battery bank. The 2 panels are Kyocera 135 in parallel controlled by a Blue Sky mppt 5512ix purchased from eMarine Inc. A lot of price searching went into the decision to use eMarine as a single source vendor. In the end I could have done a little better on price if I purchased things a la carte, but there are many reasons for buying everything in just one place. It boils down to getting all the parts at once with a set of unified assembly instructions and customer support. The Blue Sky controller is really cool. In a single box it manages the panel output and sends it to the house bank, my starting battery bank, and anything left over goes to the house distribution panel. Throughout the installation I exchanged emails and phone calls with my son, Christopher, an electrical engineer, so that I could match the vendor's wiring diagrams with what I was observing on the boat. I also needed to discuss the issue of how the wind and solar systems would play with each other, the shore based Xantrex charger, and the engine driven high output alternator. In the week following the installation of the wind turbine, while I was at home, it brought the house bank up full charge, so I know it is working. Having pre-assembled much of the mounting hardware, I completed the solar system in a weekend. On that Sunday it was overcast and the panels were pumping out over 5 amps, a pleasant surprise. Parenthetically, for many months I followed the solar panel and controller discussions on cruisersforum.com. They argued endlessly about putting the panels in series versus parallel, whether the mppt controllers really do anything, what the effect of shade cast by the back stay would be, and so on. Based on my installation and one day tracking my panels' output I have reached the conclusion that some of the boyz on cruisersforum.com are not speaking from experience, but just repeating something they read elsewhere that was theoretical in nature and which was splitting hairs over fractions of an amp in some marketing literature.
The panels are covered with cardboard while I work on the wiring. This is the advice from the vendor. After all, I don't want to accidentally send an errant few amps to my heart when it isn't in fibrillation.
Between the wind turbine and solar panels there is a lot of new stainless steel tubing on board.
The Bathroom Again, Plumbing Part 5

When I bought Andante the forward shower sump pump would half heartedly do its job. The problem was that hair in the line and pump would clog it. A simple solution was to put in an inline pump, shown above.
This isn't plumbing, but I had an empty table cell and this came to mind. All three of the boats that I have owned have had the stern boarding ladder treads screwed to the stainless steel tubing. With age the holes enlarge a little. The constant exposure to water weakens the wood treads. Then put a person my size on the tread (185 lbs) and you get a lot of strain in a few square inches on a machine screw that is holding onto the thin wall of the tubing by about one thread. It has always felt in my mind that the treads were about to rip off. This summer, as with my previous two boats, I through bolted the treads.
Gas Struts, or Keeping all of One's Fingers Intact
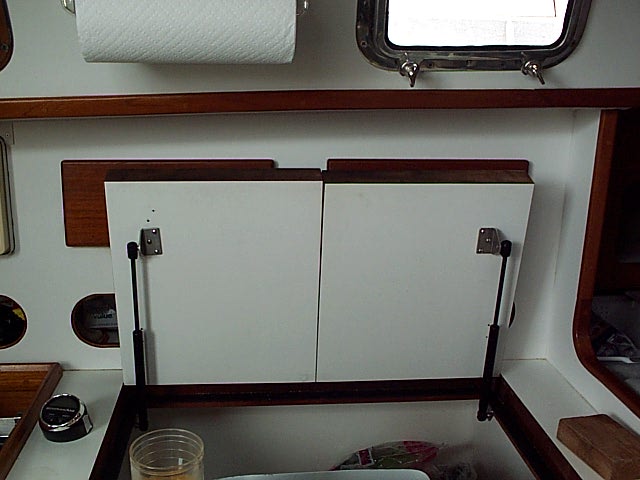
Both Andante and Adagio before her had the spring doodads that were meant to hold their ice box lids open. As long as you don't touch the spring when the lid is open everything is fine. In June I happened to accidently bump one and the lid came crashing down on my thumb nail. I'll spare you the gory details. Suffice it to say that as soon as I saw the details of the gas struts on Carina (a sistership) I ran out and got the parts for my own boat. You can find all the details for the job on Carina's web site.
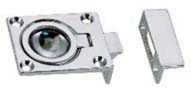
Recently I finished up this project. As latches I used the same hardware as Carina, shown above. These latches require a 1 1/4 inch hole to accommodate the underside mechanism. If you do this on your boat my recommendation is that you use different latches. My installation encountered a couple of problems. The ice box lids are hollow. Given what happened to my thumb I never expected this. The vertical teak sides are sandwiched between formica covered plywood. I used a spade bit to do the hole, but was very careful to not drill any deeper than absolutely necessary to just begin to accommodate the latch, planning to use a chisel to scoop out what I needed for clearance. Nevertheless I hit air right away. Additionally, the plywood is not very thick. Given the age of the boat, the plywood and the teak understandably turned out to be very dry, brittle, and splintery. The dilemma is to attend to the cosmetics or make a block to glue in place and start over.
Shedding Light on Things